How to Develop Family House Plan 3D Design Planners?
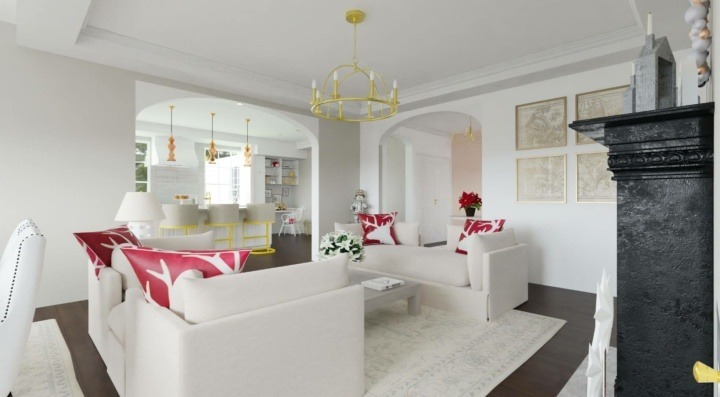
Create a perfect Family home designs in 3D
Try it virtually and show it in 4K
Be sure everything is flawless before launching works
Well-designed family house plans should be able to keep up with the everyday demands of family life. Find out how to leverage the power of 3D software to create a design that will serve your clients long after they move in.
Family home plans are based on connection. They help shape us and provide us with a sense of warmth, comfort, safety, and togetherness. Thus, having a well-planned design can make all the difference in our experiences, quality of life, and sense of well-being.
Understanding the unique differences of each client is crucial for allowing you to work together to design a space where individual needs are fulfilled, while also fostering connection. So how can this be achieved successfully through design?
With the help of 3D technology, you can produce precise layouts and designs based on the characteristics and lifestyle of each client. Whether it’s a small family or a multi-generational family, 3D home design planners can help you deliver exceptional results for custom family house plans. Learn more about this software below and how easy it is to use.
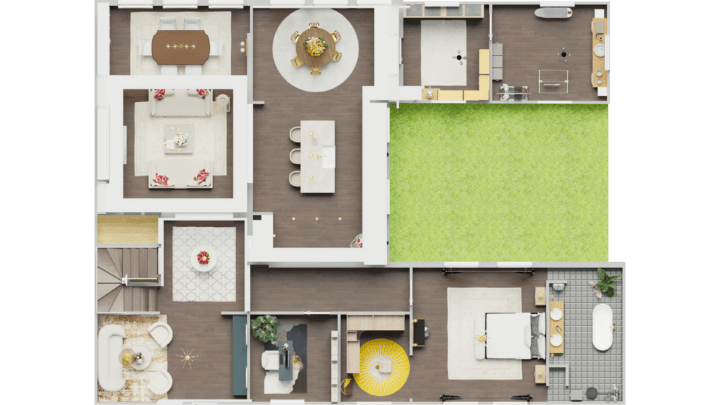
Key Questions to Ask Before Designing Family House Plans
Family house plans can differ substantially based on each family. Thus, we recommend analyzing each room with the client to decide on the function of the space, what is important for each family member, and the desired ambiance.
It’s also helpful to answer some fundamental questions beforehand to ensure the final rendering promotes a sense of purpose, togetherness, and autonomy. Here are a few key questions to keep in mind:
- Does the layout of the living, dining, or living space promote or interfere with the feeling of togetherness?
- Does the home facilitate both family time and personal time?
- Does the home support lifestyle choices and personal identity of each member?
- Is the layout flexible enough to support and evolve with the family over time?
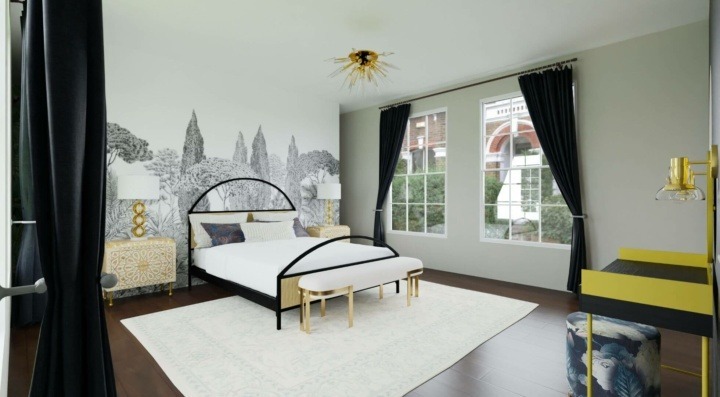
How to Create Family Home Plans in 3D?
Thanks to 3D technology, interior designers can now build and create intricate floor plans that mirror reality with real-life products and materials. Check out some of the key features and steps below to guide you in building family home plans in 3D.
1. Construct the Layout
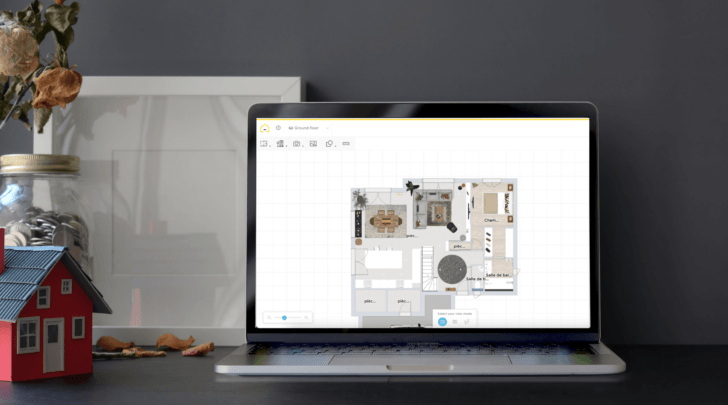
To lay out the architectural features and “bones” of the property, there are a few options to choose from. Use an existing blueprint by uploading it into the 3D planner. This can be done by navigating the toolbar, clicking the Ground Floor tab, and selecting the Upload button.
To build the floor plan manually, go to the Floor Plan tab to add walls and rooms. After selecting the Add Wall button, use the tools to draw the exterior and interior walls and other features to assemble the outline. Refer to the measurement tool to set the proper sizes of each feature.
2. Select Your View Mode
To select a different view mode, refer to the tabs at the bottom of the planner. Click the 2D, 3D, or the footprint button to switch between different perspectives. Use this to get a closer look at a piece of furniture, or to analyze the spacing and flow between each room. The footprint tab will take you right inside the design.
3. Add Realistic Colors, Materials and Textures
3D visualization software comes with many time-saving benefits and features, including online libraries that contain products, materials, and much more.
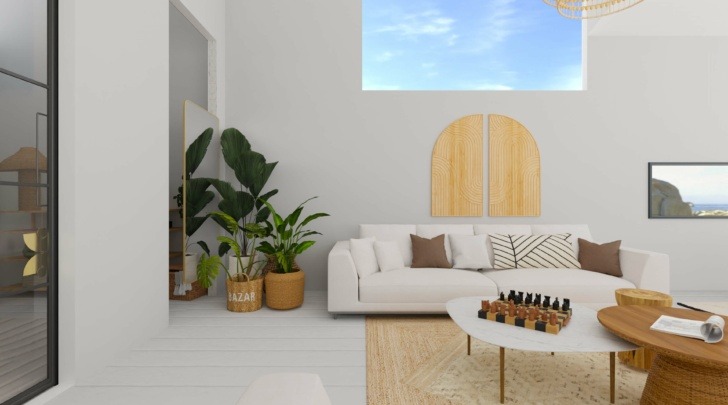
Show your clients exactly what they can expect by adding realistic color schemes, flooring, lighting, wallpaper, and even plants to your renderings. Items can be reused instantly in other areas by copying and pasting. Or duplicate a room and entire design to compare ideas and provide more options for your client.
4. Choose Brand Names or Generic Products
Got a client who loves Crate & Barrel furnishings or Smeg cooktops? Find popular brands and generic no-name products in the 3D planner to incorporate into your design.
Refer to the Brand Corner or use the filter options when searching. Having the ability to customize the details makes all the difference when it comes to impressing clients and delivering results that will get them excited to work with you.
5. Explore Ideas with Autofurnish
Need a bit of inspiration? Explore diverse concepts with the help of Autofurnish.
This feature uses algorithms based on any features that you liked to provide an automated, fully decorated space as a result. This feature can be accessed via HomeByMe’s 3D app.
6. Import Furniture with 3D Upload
Import custom furnishings to use in the design with the 3D Upload feature. This lets you truly personalize the layout and tailor it precisely for clients using furnishings they love.
Furniture can be uploaded in multiple formats, including .gltf and .glb.
7. Show Renderings from Multiple Angles
Convey the quality, textures, finishes, and other details of the design by showing it from multiple angles.
Choose from high, low, or eye-level captures to present it just as you like. There’s also an option to capture the design from custom angles made by you.
8. Edit the Lighting and Ambience
With 3D home planners, you get full control over the final rendering, including the lighting and ambiance. To set the right mood or vibe, refer to the Studio Photo tab to make adjustments to cool down or warm up the space.
In addition to editing artificial lighting, the external ambiance and setting can also be changed. Choose from different backgrounds or select a certain time of day to present the rendering in the best light.
9. Offer 4K Tours to Clients and Get Valuable Feedback
Once the 3D rendering is complete, offer clients a virtual tour so they can walk through the design as if they are there.
By having a direct and immersive experience, clients will be able to see and “feel” the layout, as well as all the components within it, to offer valuable feedback.
This saves a significant amount of time for everyone involved and helps to streamline the process.
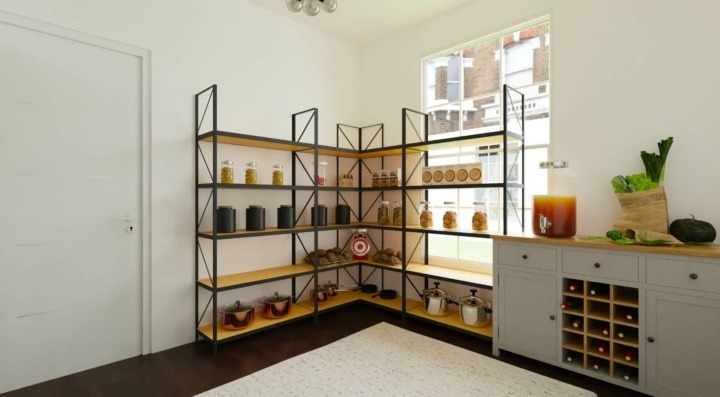
Family House Floor Plans
When choosing family house floor plans, it’s important to consider the needs of each family and focus on providing a space that is practical, inviting, and beautiful. Here are example floor plans below.
1 Story: 3 Bed, 2.5 Baths, and 2 Car Garage
This floor plan is based on 1900 square feet of livable space set on a single story. Upon entering from a sizeable front porch, you are led into the great room which features a cozy, central fireplace.
An L-shaped kitchen and dining area are set towards the back of this wide-open concept, offering plenty of space to connect with family and guests. A rear porch is accessed through the dining area, with an outdoor kitchen and lounging patio.
This semi-split design places the two secondary bedrooms on the right side of the property with a shared bathroom. On the left side, the master bedroom takes over the front left section with an ensuite beside it.
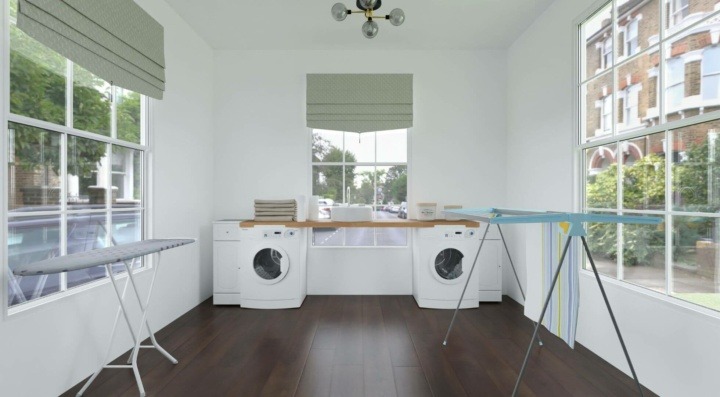
A laundry room, powder room, and mudroom are all set behind the master suite and conveniently connect to the 2-car garage.
2 Story: 4 Bed, 2.5 Bath with Bonus Room
Set on approximately 2300 square feet, this layout is ideal for multi-generational families. Walking through the foyer, you’re greeted by a large living room and kitchen area. The living room veers towards the left side and the kitchen is on the right front side.
Meanwhile, the dining area is at the rear, overlooking the back patio. To the right of the dining room and kitchen is the master bedroom, which is secluded in the back corner for privacy.
The master bath is directly beside the bedroom and a guest powder room is nestled in between. The 2-car garage is set in the front right corner of the home. Bedrooms two and three are on the left side in opposite corners with a shared full bath.
2 Story: 4 Bed, 4 Bath with 3 Car Garage
With almost 4000 square feet, this modern design provides ample space to live and grow as the family does. Through large double doors, the great room is in the heart of the home. The kitchen is off to the right rear with a dining area in front and a guest bathroom is towards the back of the kitchen.
A casual seating area is located left of the foyer. Directly ahead is the master bedroom with an ensuite in the front corner. A staircase between the master bed and great room leads to the second floor which houses an open lounge, loft, and media space.
Two bedrooms are on opposite sides, with the third bedroom towards the front, adjacent to the loft area. Another full bath is positioned close to the stairwell.
Leverage the power of 3D visualization software by trying HomeByMe’s intuitive 3D floor planner. It allows you to create accurate models of future designs, perform edits at any time, and ultimately, develop a family house plan that aligns with the needs and lifestyle of your clients. Try it today!
Create a perfect Family home designs in 3D
Try it virtually and show it in 4K
Be sure everything is flawless before launching works
Make flawless Design plans

