Interior Design Tips for Beginners and How to Apply Them with 3D Tech
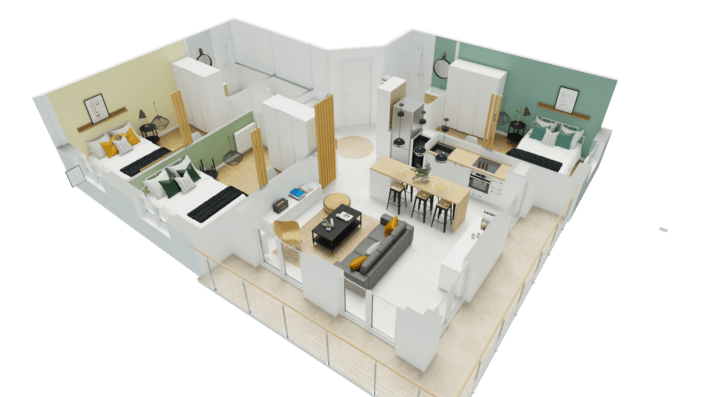
Make any home designs quickly
Try it virtually and show it in 4K
Be sure everything is flawless
Create stunning renderings to help excel your career as a professional interior designer with these essential tips, and the help of 3D home design software.
Imagine walking into a room that just takes your breath away. The colors, the textures, the lighting, and the arrangement of furniture all work together in perfect harmony to create a space that feels inviting, comfortable, and beautiful.
That’s the power of great interior design, and with a 3D home designer, you can bring your vision to life like never before.
The first step to creating an amazing space is to understand the fundamentals of interior design. Start by thinking about the function of the room: what will it be used for, and how can you make it comfortable and functional for that purpose?
Then, consider the style you want to create: will it be modern and minimalistic, cozy and rustic, or something in between? Once you have a clear idea of your goals, you can begin to apply the following tips to bring your design to life.
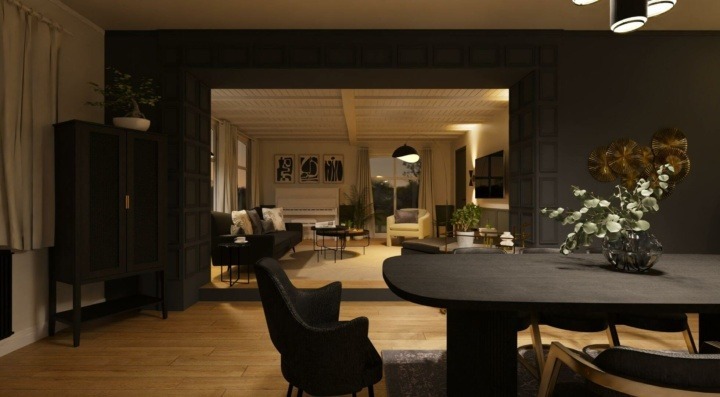
3 Fundamental Interior Design Tips for Beginners
Focus on these 3 essential interior design tips for beginners, to guide the design process and help you excel in your profession:
Think in Layers
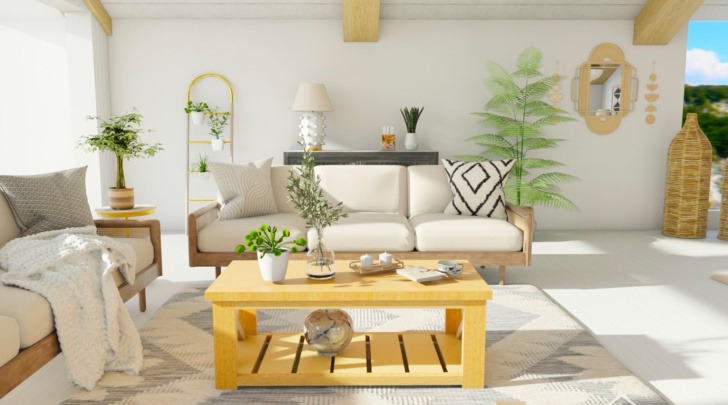
Good interior design is all about creating depth and dimension. Instead of choosing one color or pattern, layer different textures and hues to create interest and visual intrigue. Use rugs, throw pillows, and blankets to add depth to a room, and choose a mixture of materials, like wood, metal, and fabric to create contrast.
Use Light to Your Advantage
Lighting is crucial and can make all the difference in the mood and “feel” of a space. Use a combination of lighting sources, like overhead lights, table lamps, and floor lamps to create ambiance and adjust the tone for different occasions.
And don’t be afraid to play with natural light either – use curtains and shades to control the amount of light that enters the room.
Don’t Forget About Flow and Negative Space
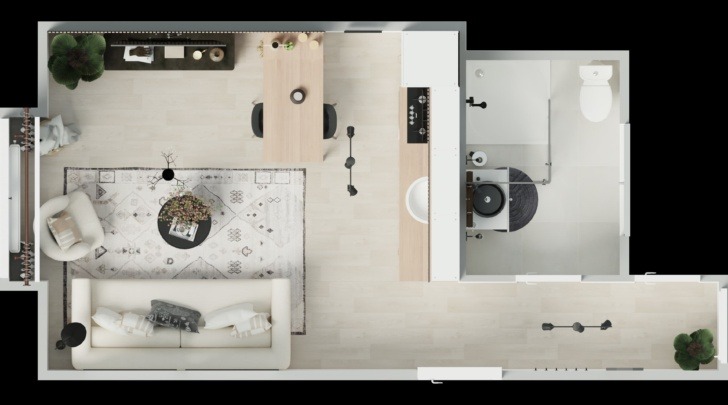
How you arrange furniture can have a huge impact on the functionality and flow of an interior. Think about the main focal point of the room (like a fireplace or a TV), and arrange furniture around it to create a sense of balance and harmony.
Keep negative space in mind as well – sometimes less is more when it comes to balancing furniture placement. There should be enough room to walk around and between furnishings, as well as clear pathways from each zone.
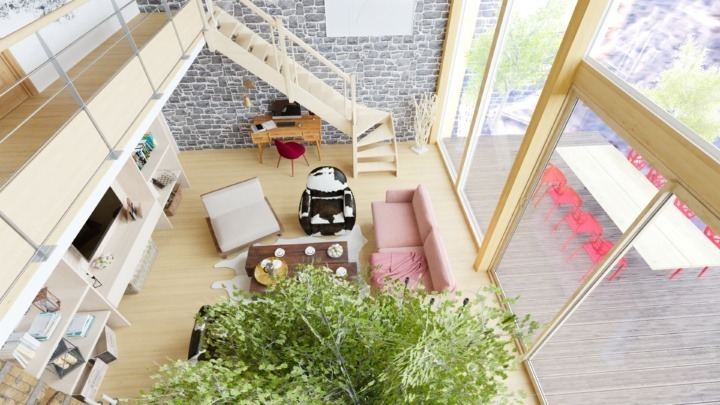
How to Use These Tips for Interior Design with a 3D Home Planner?
Now, with a 3D home planner, you can use these tips for interior design with ease and precision.
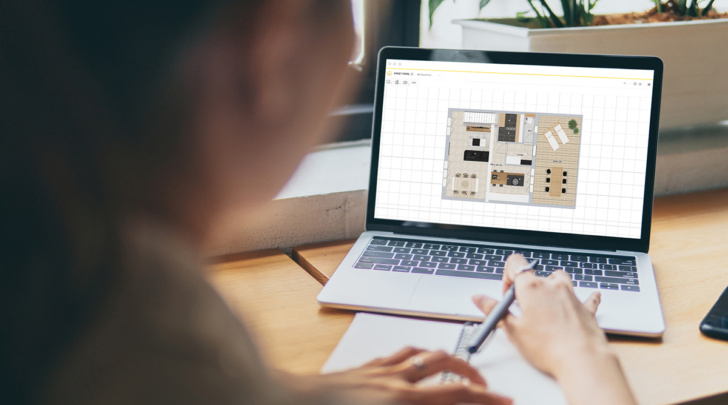
With the ability to create a digital model of your space or a client’s, you can experiment with unique layouts, colors, and textures until you find the perfect combination.
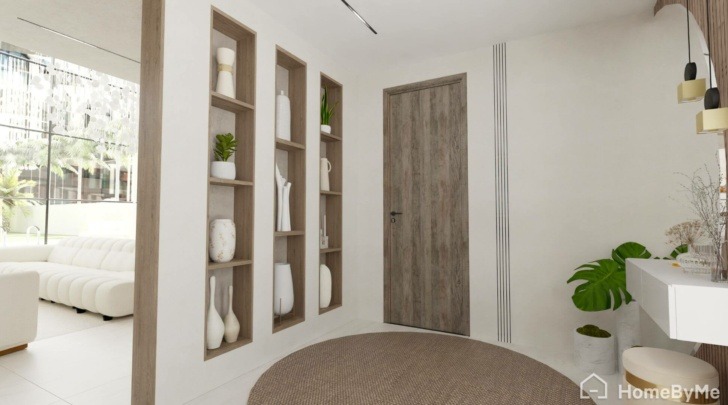
And because you’re working in a 3D environment, you can see exactly how everything will look and feel before committing to any changes.
Check out the guide below to learn how to start designing for clients or building a portfolio with this handy 3D software.
A Step-by-Step Guide to Produce 3D Renderings & Apply Interior Decorating Tips
With expert interior decorating tips and 3D tech to support your ideas, you can build beautiful and intricate renderings to win over clients.
Follow this brief guide below to use the HomeByMe
1 Step 1. Draw the Layout
To draw the framework of the space you will be designing, go to the toolbar and select the “Add Wall” tab to construct the layout.
Use the “Add Room” button if you prefer to assemble it room by room.
Match the measurements to the actual space by editing the dimensions for the walls, windows, doorways, and other elements.
2 Step 2. Choose Colors, Furniture, and Decor
After creating the layout, refer to the “Furnish” tab to explore options for adding furniture to any room to form your design.
Select the filter options to discover various styles or materials.
Go to the “Decorate” tab to choose paint colors, wallpaper, and any accessories to complete the design.
3 Step 3. Explore Different Viewpoints
To explore your design from different standpoints, toggle the view mode on the bottom center of the screen to switch between a bird’s-eye view, first-person mode, or click the Footprint button to take a virtual tour.
4 Step 4. Change the Lighting and Background
Make changes to the lighting to reflect the ambiance you want to portray.
Choose the type of background setting that will enhance the design by editing the settings in the Studio Photo tab.
5 Step 5. Save to Your Portfolio or Share and Collaborate
Save HD images for your portfolio with 360° angles to capture each segment of your design.
Print images to use as a visual reference for initiating a remodel with clients.
Share and collaborate with others by sending a link for them to view, explore and experience it in 3D.
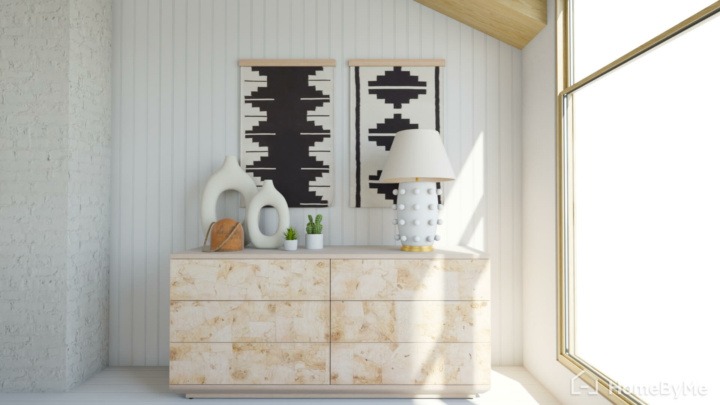
So go ahead, let your imagination run wild. With these key tips and a powerful 3D home designer like HomeByMe in your toolkit, you can create a space that’s beautiful, unique, and aligned with the needs of each and every client.
Try it today for free to support your career as an interior designer with professional, high-quality renderings.
Make any home designs quickly
Try it virtually and show it in 4K
Be sure everything is flawless
Make flawless Design plans

