How to Arrange a Dining Room Using a 3D Home Designer
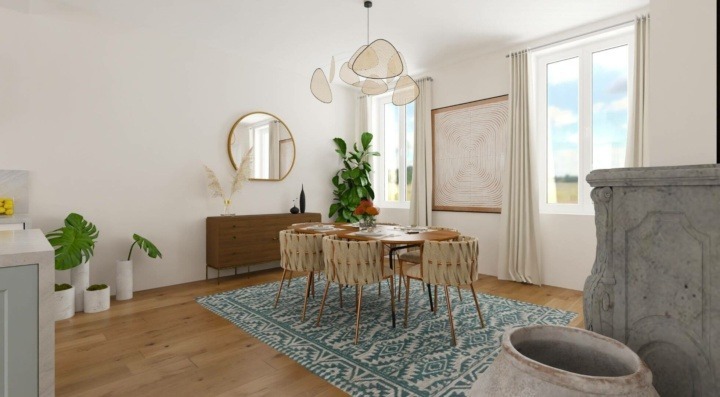
Arrange creative dining rooms
Try it virtually and show it in 4K
Be sure everything is flawless
Create dining room spaces the captivate, inspire, and blend style with comfort perfectly using the intuitive power of 3D home design planners.
Dining rooms hold a special place in the home – they are where memorable conversations and meals are shared, and connections with others are formed.
As a designer, your task is to create an environment that not only exudes elegance and style but also effortlessly accommodates the needs and desires of your clients.
This is where 3D software becomes an invaluable tool, allowing you to bring any design concepts to fruition and visualize them with remarkable realism.
In the following sections, we guide you through the process of arranging a dining room with finesse, showcasing the versatility and power of 3D home designers.
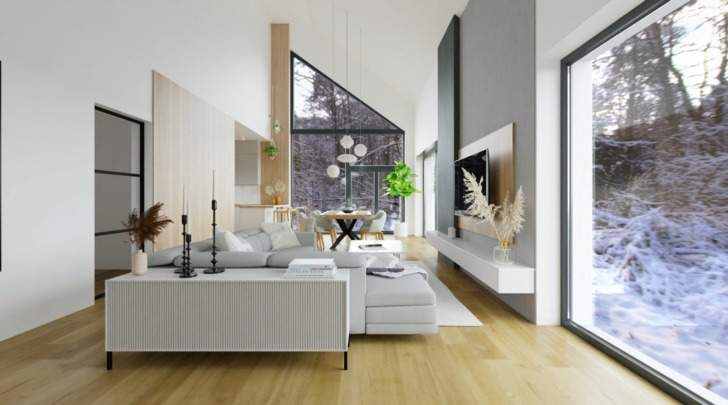
We’ll explore the nuances of arranging a living room dining room combo, where the challenge lies in striking a harmonious balance between two distinct areas within one shared space.
Read on to learn how to arrange a dining room using this advanced technology to elevate your creative skills as an interior designer.
How to Arrange a Living Room Dining Room Combo
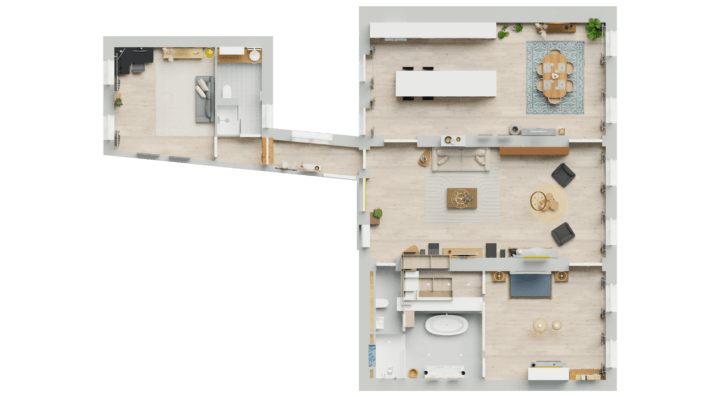
Creating a living room dining room area into one shared space can be challenging. From space planning to furniture placement and smart storage solutions, discover how to arrange a living room dining room combo by creating distinct zones that seamlessly flow together, while preserving the individuality of each area.
Defining the Zones
Before delving into furniture placement and decor choices, it’s crucial to define distinct zones within the space. Begin by assessing the room’s dimensions, architectural features, and natural focal points. Consider factors such as traffic flow, lighting, and the intended purpose of each zone. Visualize how you want the space to feel and function, whether it’s an open-concept layout with a cohesive design or a delineated separation between the living and dining areas.
Strategic Furniture Placement
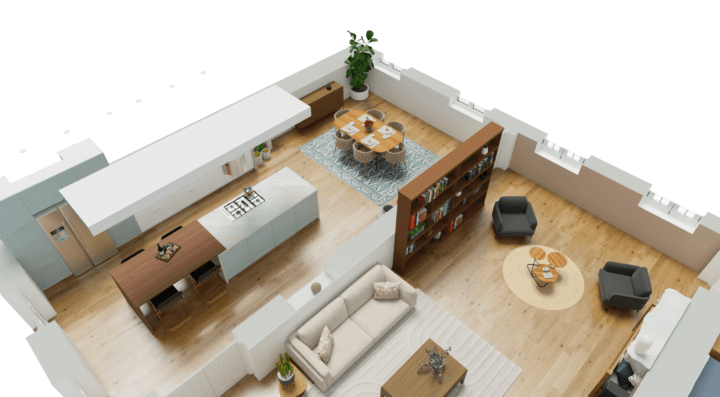
When it comes to furniture placement in a living room dining room space, strategic positioning is key. Start by selecting furniture pieces that complement each other in terms of scale, style, and color palette. Arrange seating areas and dining furniture in a way that maximizes the available space and ensures comfortable circulation. Experiment with various layouts, keeping in mind the importance of creating a natural flow and walkway between the two zones. Consider utilizing area rugs or furniture to visually define separate areas.
Use Cohesive Design Elements
To achieve a harmonious look, it’s essential to incorporate cohesive design elements throughout the space. This can be accomplished through color coordination, using a consistent color scheme that ties both areas together.
Explore the use of accent colors and textures to create visual interest while maintaining a sense of unity. Additionally, consider integrating architectural elements, such as molding, built-in shelving, or semi-partitions to add depth and character to the room.
Lighting Solutions
Proper lighting can significantly impact the ambiance and functionality of a living room dining room combo. Pay attention to both natural and artificial lighting sources.
Maximize natural light by strategically placing furniture to allow for unobstructed views, and by using sheer curtains or blinds that let light permeate the space.
For artificial lighting, consider a combination of ambiance, task, and accent lighting to create a layered and versatile lighting scheme. Use dimmers and adjustable fixtures to allow for different moods and settings depending on the occasion.
Stylish Storage Solutions
In shared living dining spaces, storage can often become a challenge. Look for creative and stylish storage options that seamlessly blend with the overall design.
Use items such as built-in cabinetry, multifunctional furniture pieces, and decorative storage baskets or ottomans. These elements not only provide practical storage space but also contribute to the aesthetic appeal of the room.
By following these expert tips, you can create a harmonious and functional space that caters to both relaxation and dining experiences. Remember, it’s all about striking the right balance and infusing your design prowess into every detail.
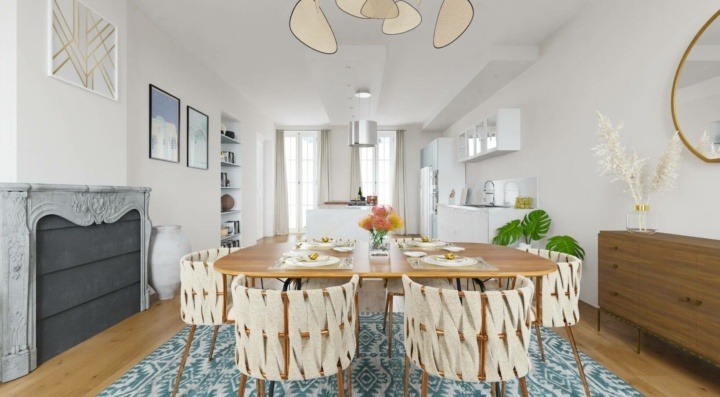
How to Use 3D Tech to Arrange the Dining Room
From setting up your project and defining the dining area to selecting the furniture, lighting, and accessories, we guide you through the process of how to arrange a dining room by harnessing the full potential of user-friendly 3D design software, like HomeByMe.
With its realistic visualization capabilities, you can explore various design options and refine every detail of the dining room layout.
Step 1. Define the dimensions, layout, and architectural elements of the dining room
When you’re logged into the HomeByMe 3D designer, you’ll be greeted by a user-friendly interface that allows you to start designing right away.
Familiarize yourself with the various features and tools available, such as the drag-and-drop wall customization options and room templates.
Using the toolbar, select the “Build” option to find features to create the layout with architectural details.
Insert the correct dimensions by double-clicking on the measurements next to each wall to edit or by using the tape measure icon.
Step 2. Strategically delineate areas for dining, lounging, and conversation to optimize the space
3D floor planners like HomeByMe, provide many types and styles of furniture to design with, including dining chairs, tables, sideboards, and other dining room essentials.
You can find all these options and more under the “Furnish” tab. Once you see an item that you’d like to apply to the design, click to drag it where you want it. Edit and position the furniture pieces to delineate areas for dining and lounging.
From sleek and modern to rustic farmhouse, choose a dining table that becomes a focal point while also complementing the surrounding decor.
Filter the selection in the search bar to pinpoint the style, brand, and look that you’re aiming for.
Step 3. Explore colors, materials, flooring, and storage options
Navigate to the “Decorate” tab to play with various paint colors, wallpapers, flooring, upholstery materials, and more to see how they interact and balance the overall design.
This step will help you refine the choices and create a cohesive and visually appealing dining room.
Step 4. Set the vibe with lighting fixtures, artwork, and accessories
Lighting and accessories play a vital role in enhancing the ambiance of a dining room.
In HomeByMe, you can add all sorts of lighting fixtures, from elaborate pendant lights to wall sconces and chandeliers to illuminate the virtual space.
Explore different light intensities and temperatures under the “Photo” tab to create the ideal setting and vibe.
Step 5. Add depth and visual interest using layers and texture
Every great design needs a combination of layers and texture to add depth and personality.
To do this, choose accessories such as a plush rug under the dining table, curtains or draperies that add softness, or textured wall coverings for visual interest.
Introduce decorative elements like artwork and mirrors too.
Step 6. Preview, modify, share, and collaborate
With the design more or less complete, preview it in 3D. Virtually walk through and experience the envisioned space.
Take this opportunity to fine-tune any details, making edits to furniture placement, colors, or materials as needed.
Use the sharing features to generate a link or embed the 3D model on your website to showcase, gain feedback, or collaborate. Save high-quality prints to use as a precise and accurate blueprint.
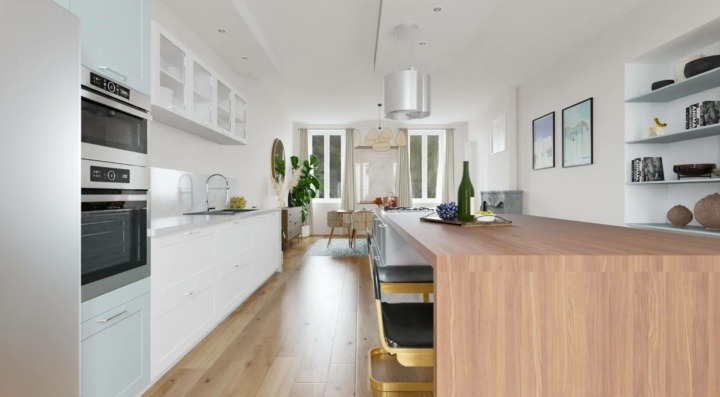
Arranging a dining room requires creativity, precision, and a deep understanding of design principles.
With the aid of 3D software like HomeByMe, designers can take their skills to new heights, whether it’s facing the challenge of a living room dining room combo or seeking to create the perfect formal dining room from scratch.
The power of 3D technology empowers you to embrace the possibilities, trust your instincts, and let your creativity shine.
Make detailed floor plans with our 3D solution and create the perfect realistic 3D home.
Arrange creative dining rooms
Try it virtually and show it in 4K
Be sure everything is flawless
Make flawless Design plans

